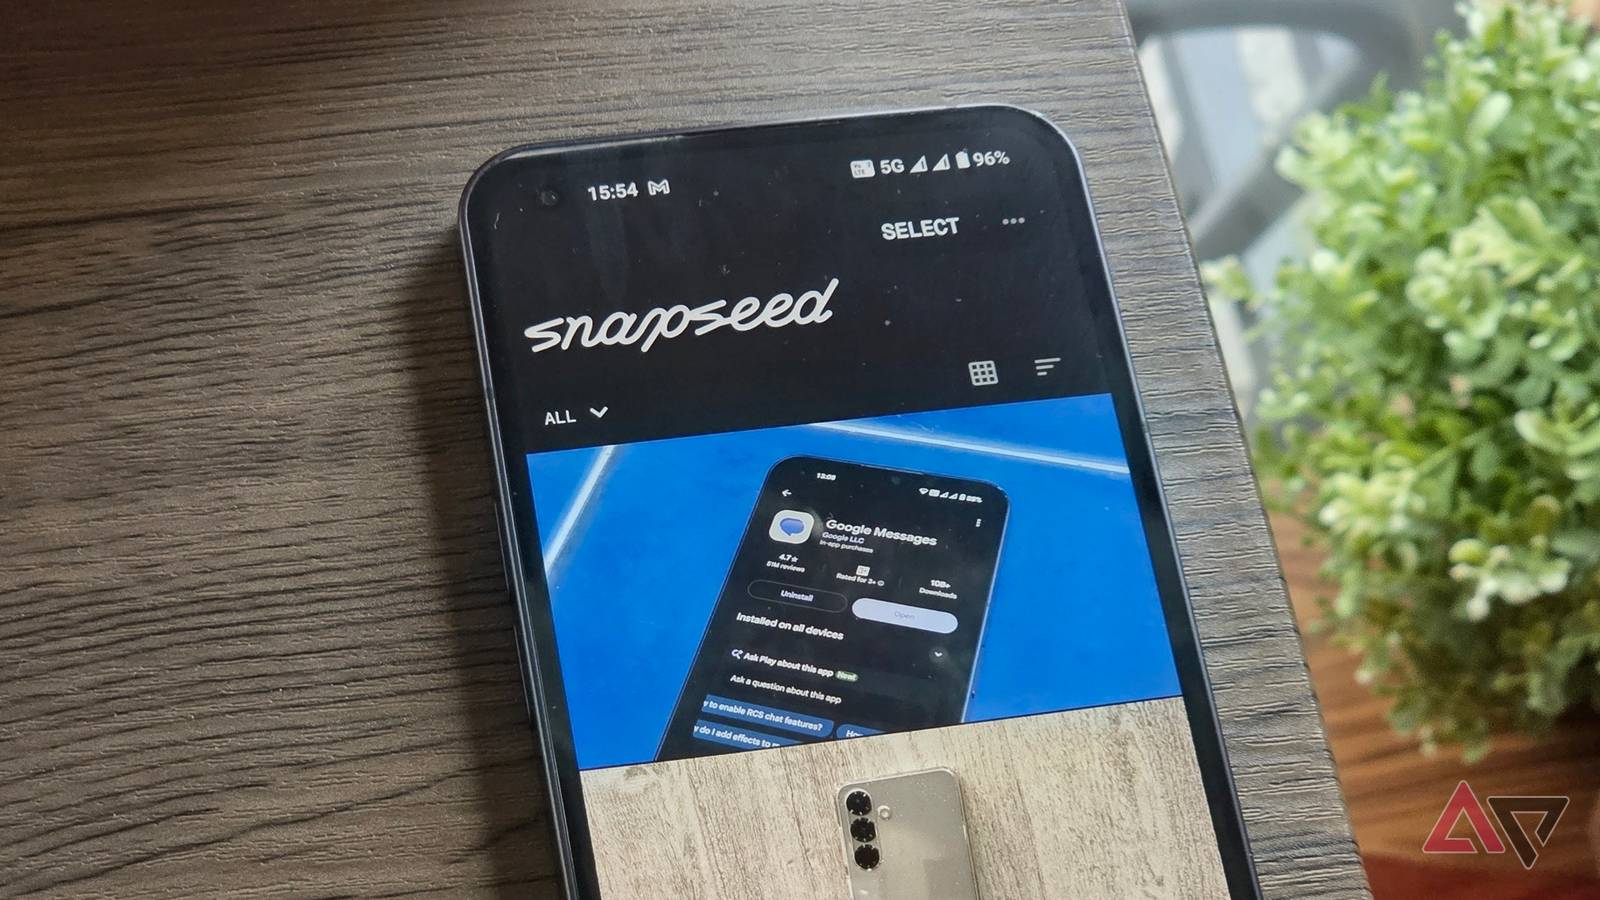
Google promotes Photos as an all-in-one gallery and backup app. It's also a competent editor for photos and videos.
However, Google Photos has leaned heavily on AI tools in its recent updates. Rather than offer more manual tools for users, Photos has become increasingly AI-dependent with .
I got so fed up with Google Photos' AI editor that . Even though it's under Google's app umbrella, it isn't preinstalled on Android phones.
Snapseed has several manual tools that eclipse Google Photos' AI features. Here are five precise editing tools that I use regularly.
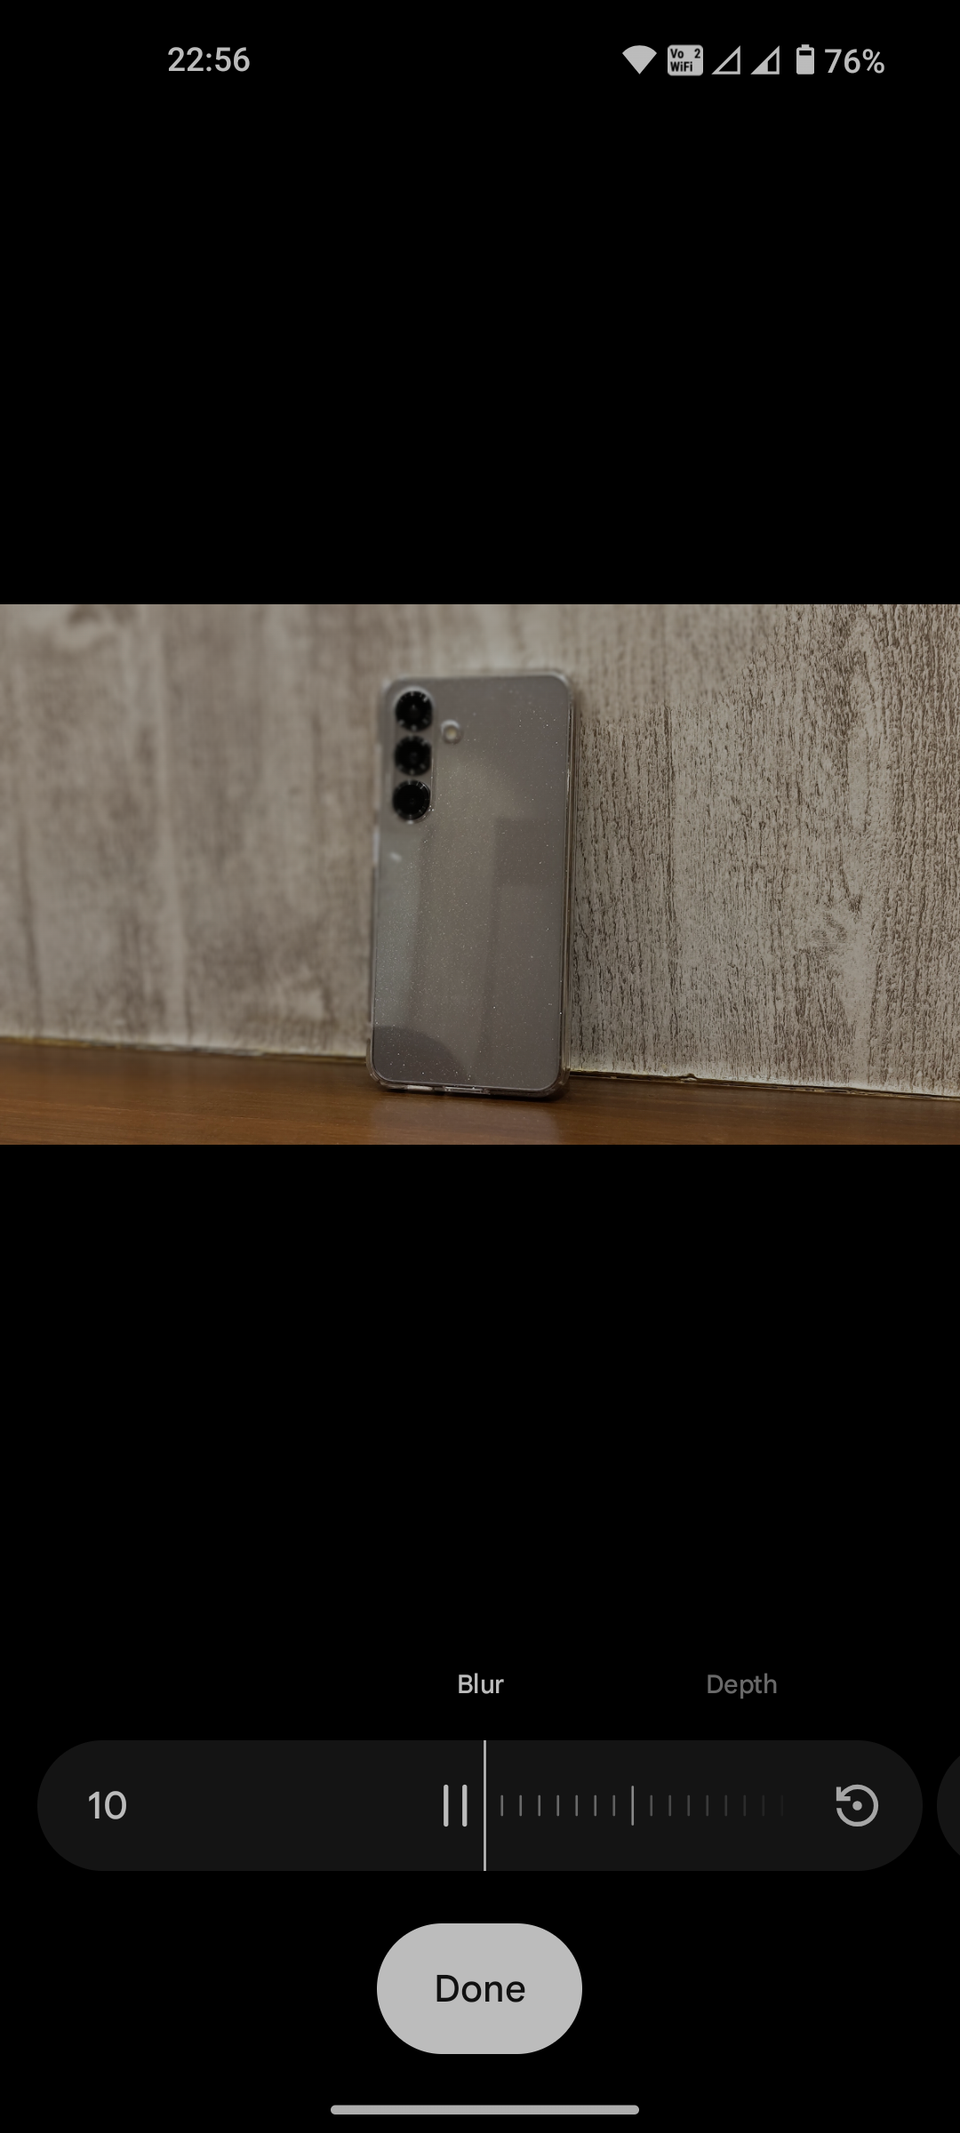
Motion and depth-based lens blur
Apply blur your own way
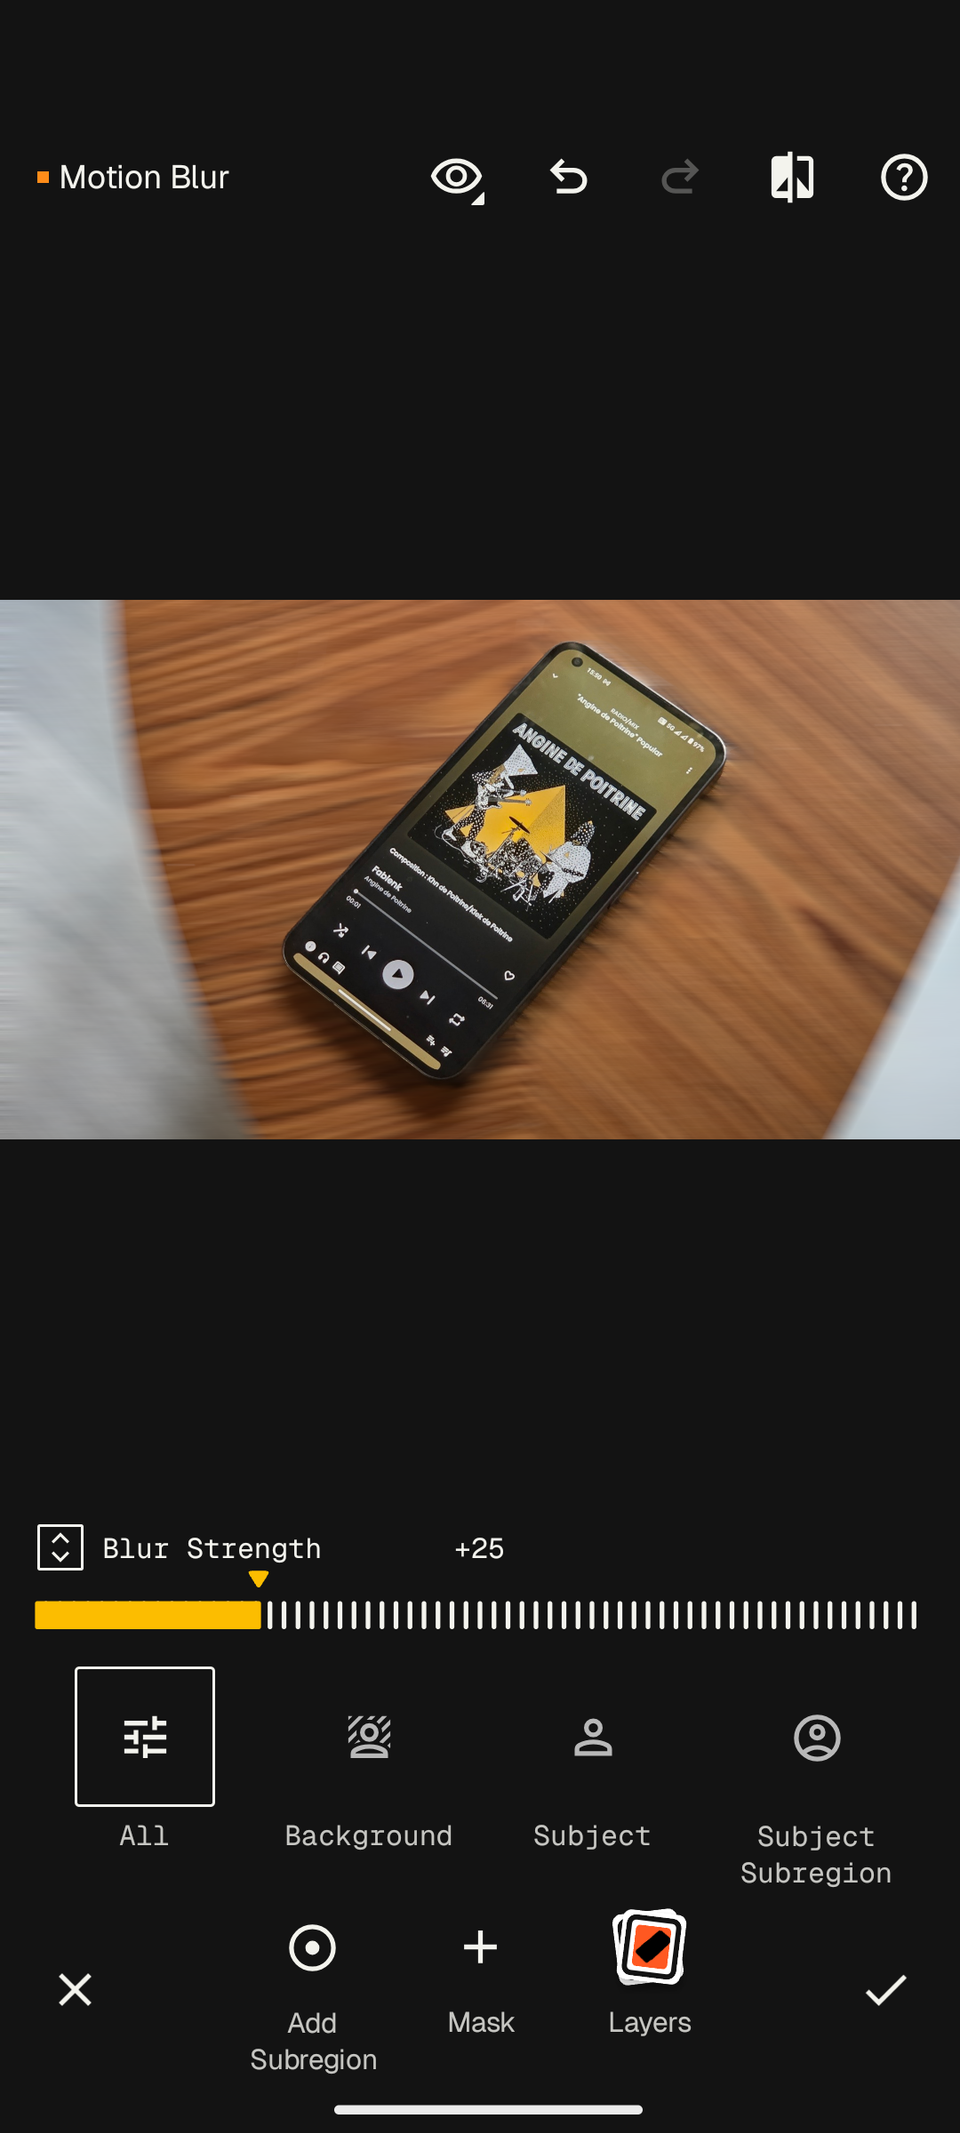
is one of the newer tools Snapseed has released. You can find it under the Tool section after opening any photo. It applies motion blur to your photos.
The best part is that you can apply motion blur to any part of the photo you want. You can apply it to the whole photo, the subject, the background, or a specific portion of the frame.
is another new feature that rolled in with Motion Blur. It simulates the background blur found in professional-grade cameras. You can choose different blur shapes, such as a circle or hexagon, or even a star or heart.
Both blur tools have adjustable strength, ranging from 0 to 100. Tap the arrow icon beside blur strength to tweak the direction, bokeh boost, and other settings.
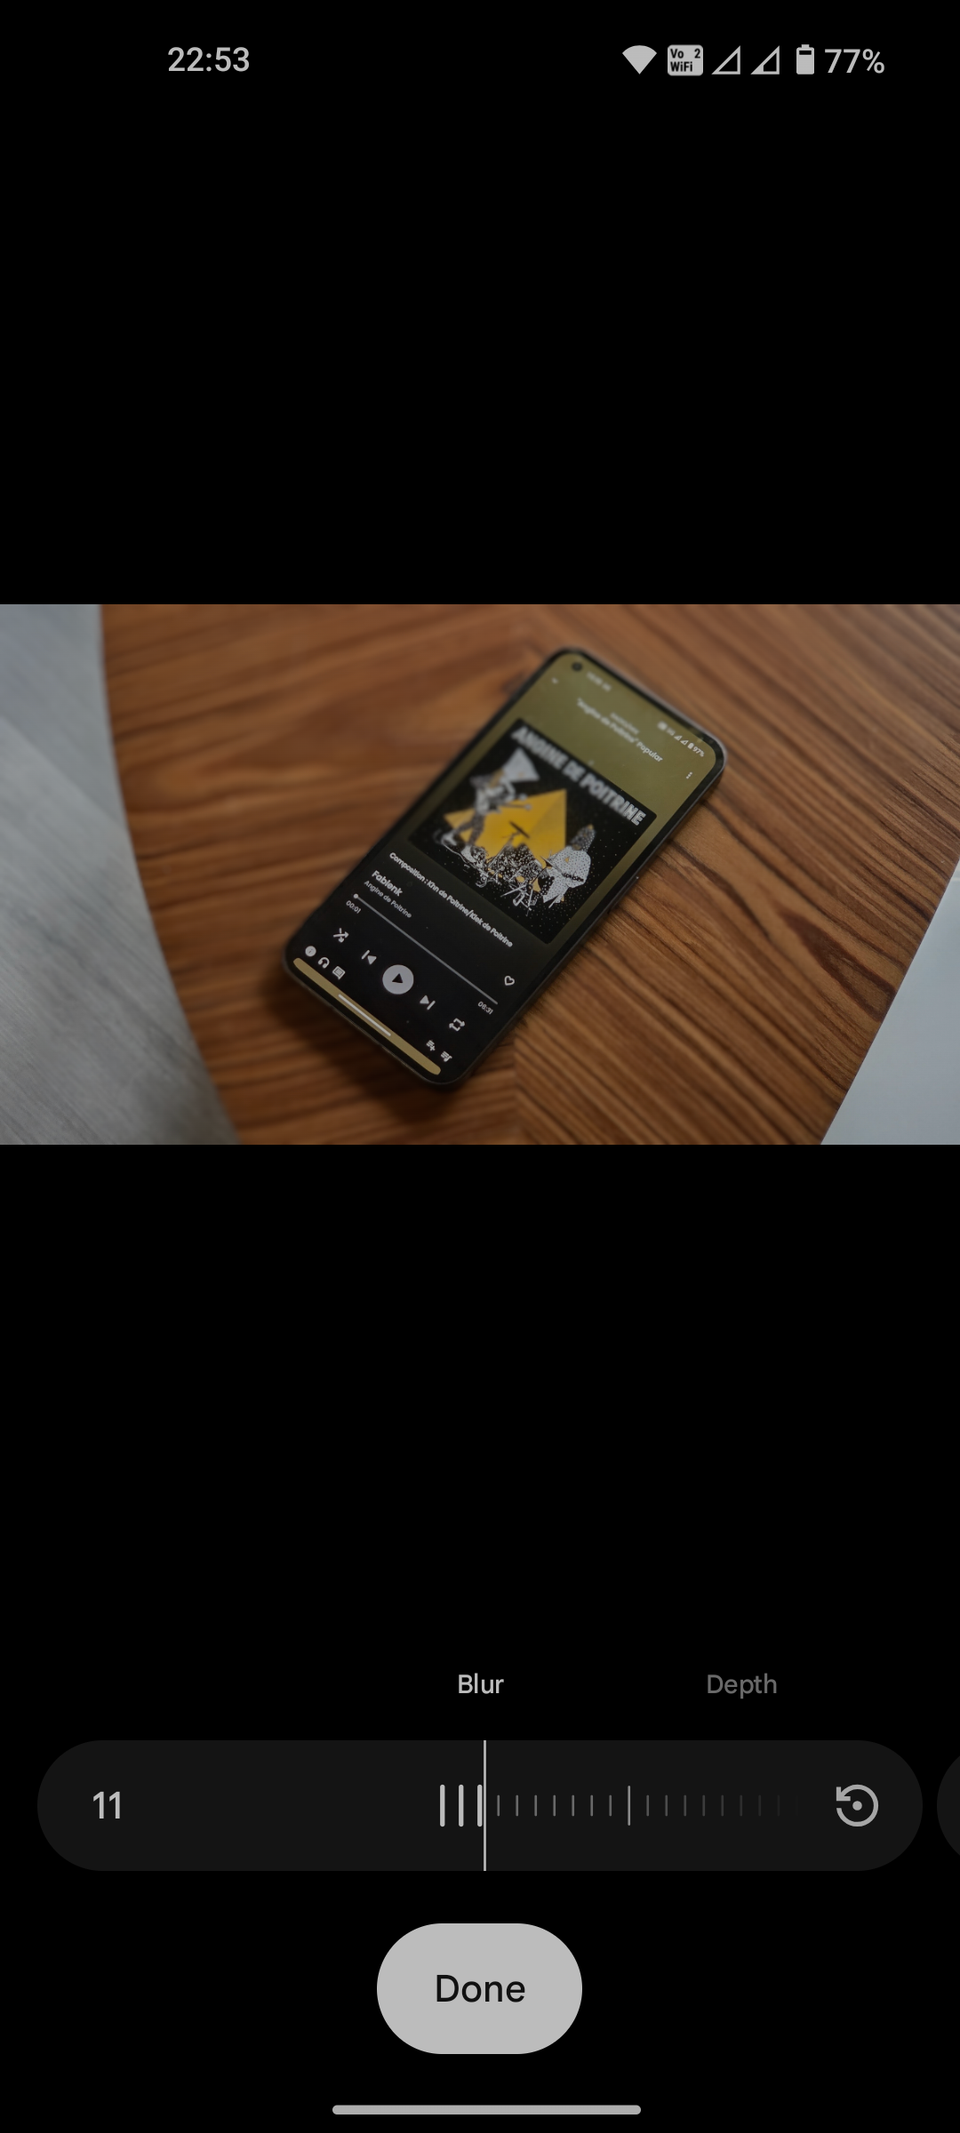
Google Photos' comparable tool is Portrait Blur. It can adjust the blur strength and depth, but not much else in terms of specific spots or direction.
Multi-wheel color grading
Import presets and LUTs, too
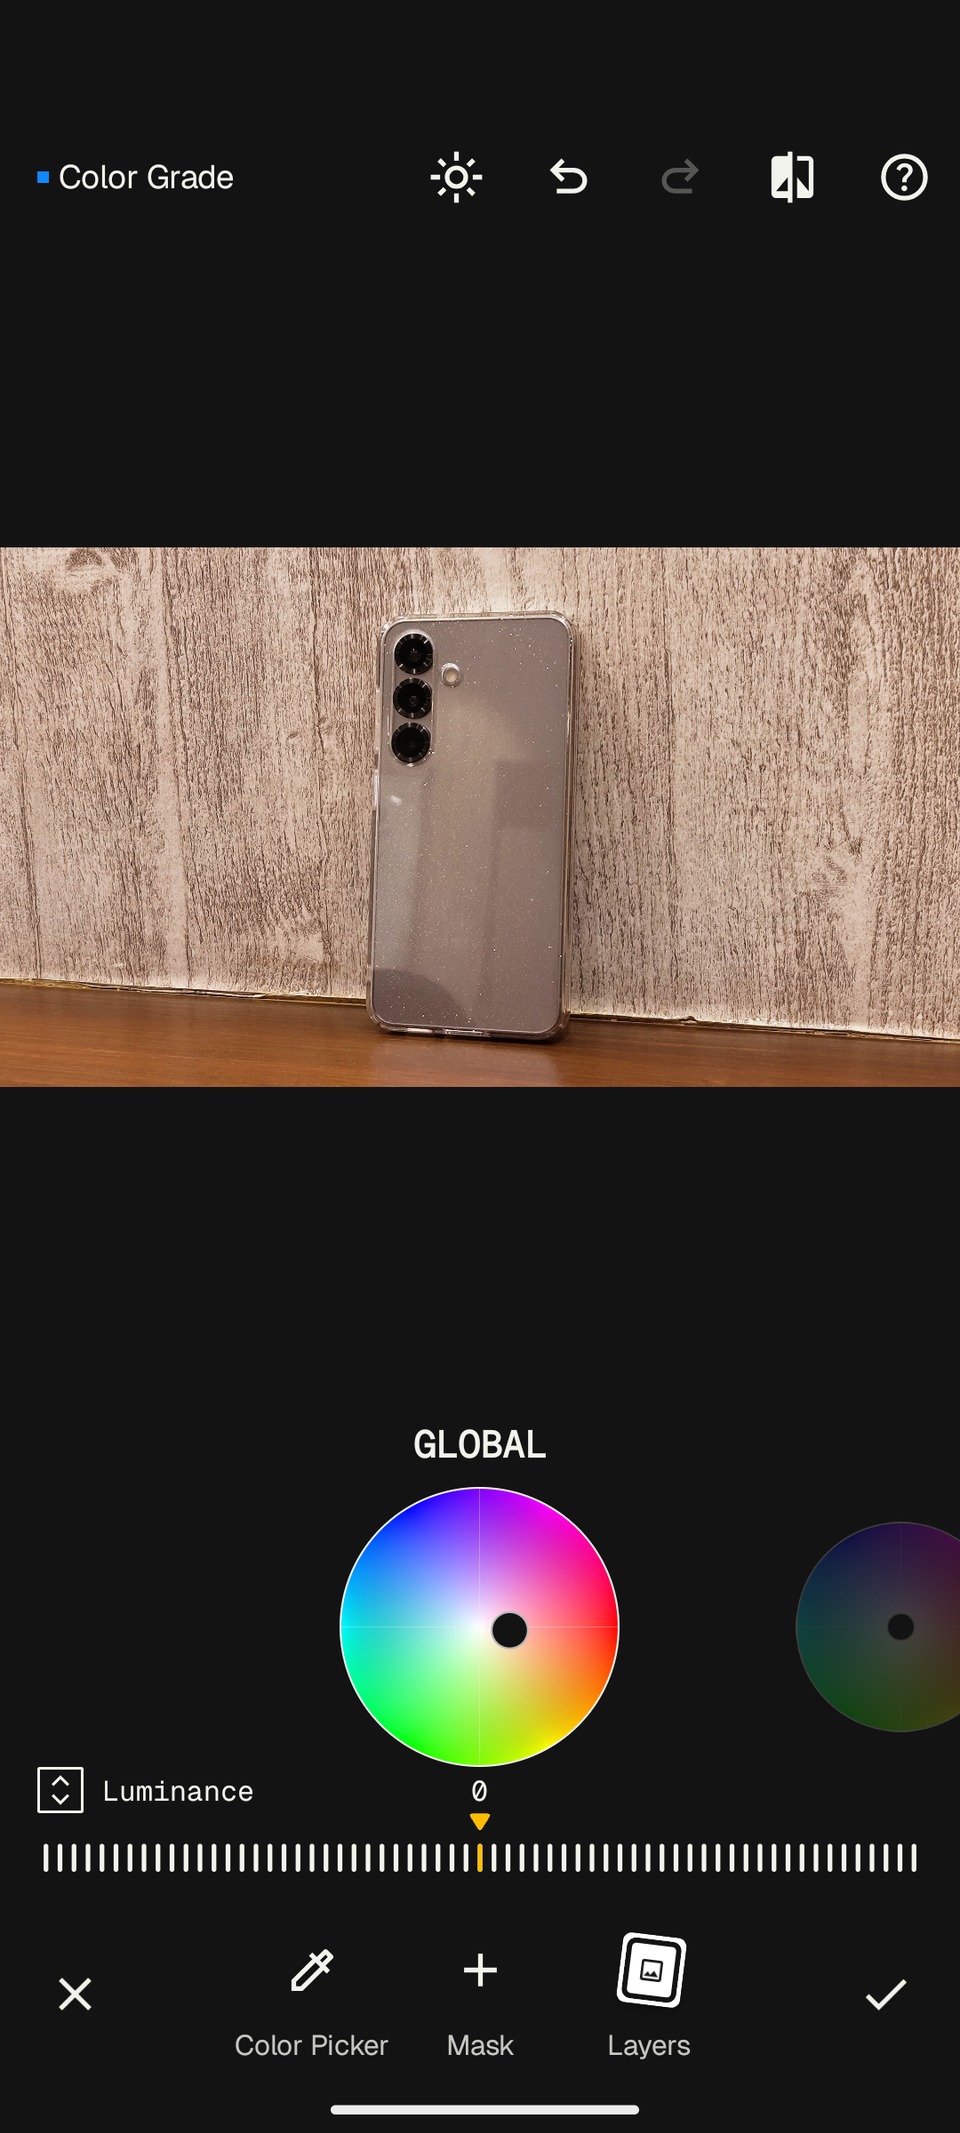
Color grading is something you'd normally hear professional photographers and videographers use. Snapseed keeps the core concept but makes it accessible for casual users.
Like the blur tools mentioned above, the new wheels are under the Tool library. You can work on the shadows, midtones, or highlights. There's also a global setting for universal control.
Getting the hang of color grading is tricky at first. You have to either drag the black dot around the wheel or slide the bar underneath it. On top of that, you can fine-tune each section's hue, saturation, and luminance.
With Snapseed's recent update, users can now import custom presets and LUTs from apps like Lightroom. This is incredibly useful if you have looks that you spent hours working on. They now slot seamlessly into Snapseed.
Google Photos doesn't have a single color-grading tool. Instead, all available photo-manipulation settings, such as contrast, saturation, and brightness, are spread out inside the Adjust tab. Each one is limited to a single adjustment bar.
Smart Masking within most tools
Separate the subject from its background
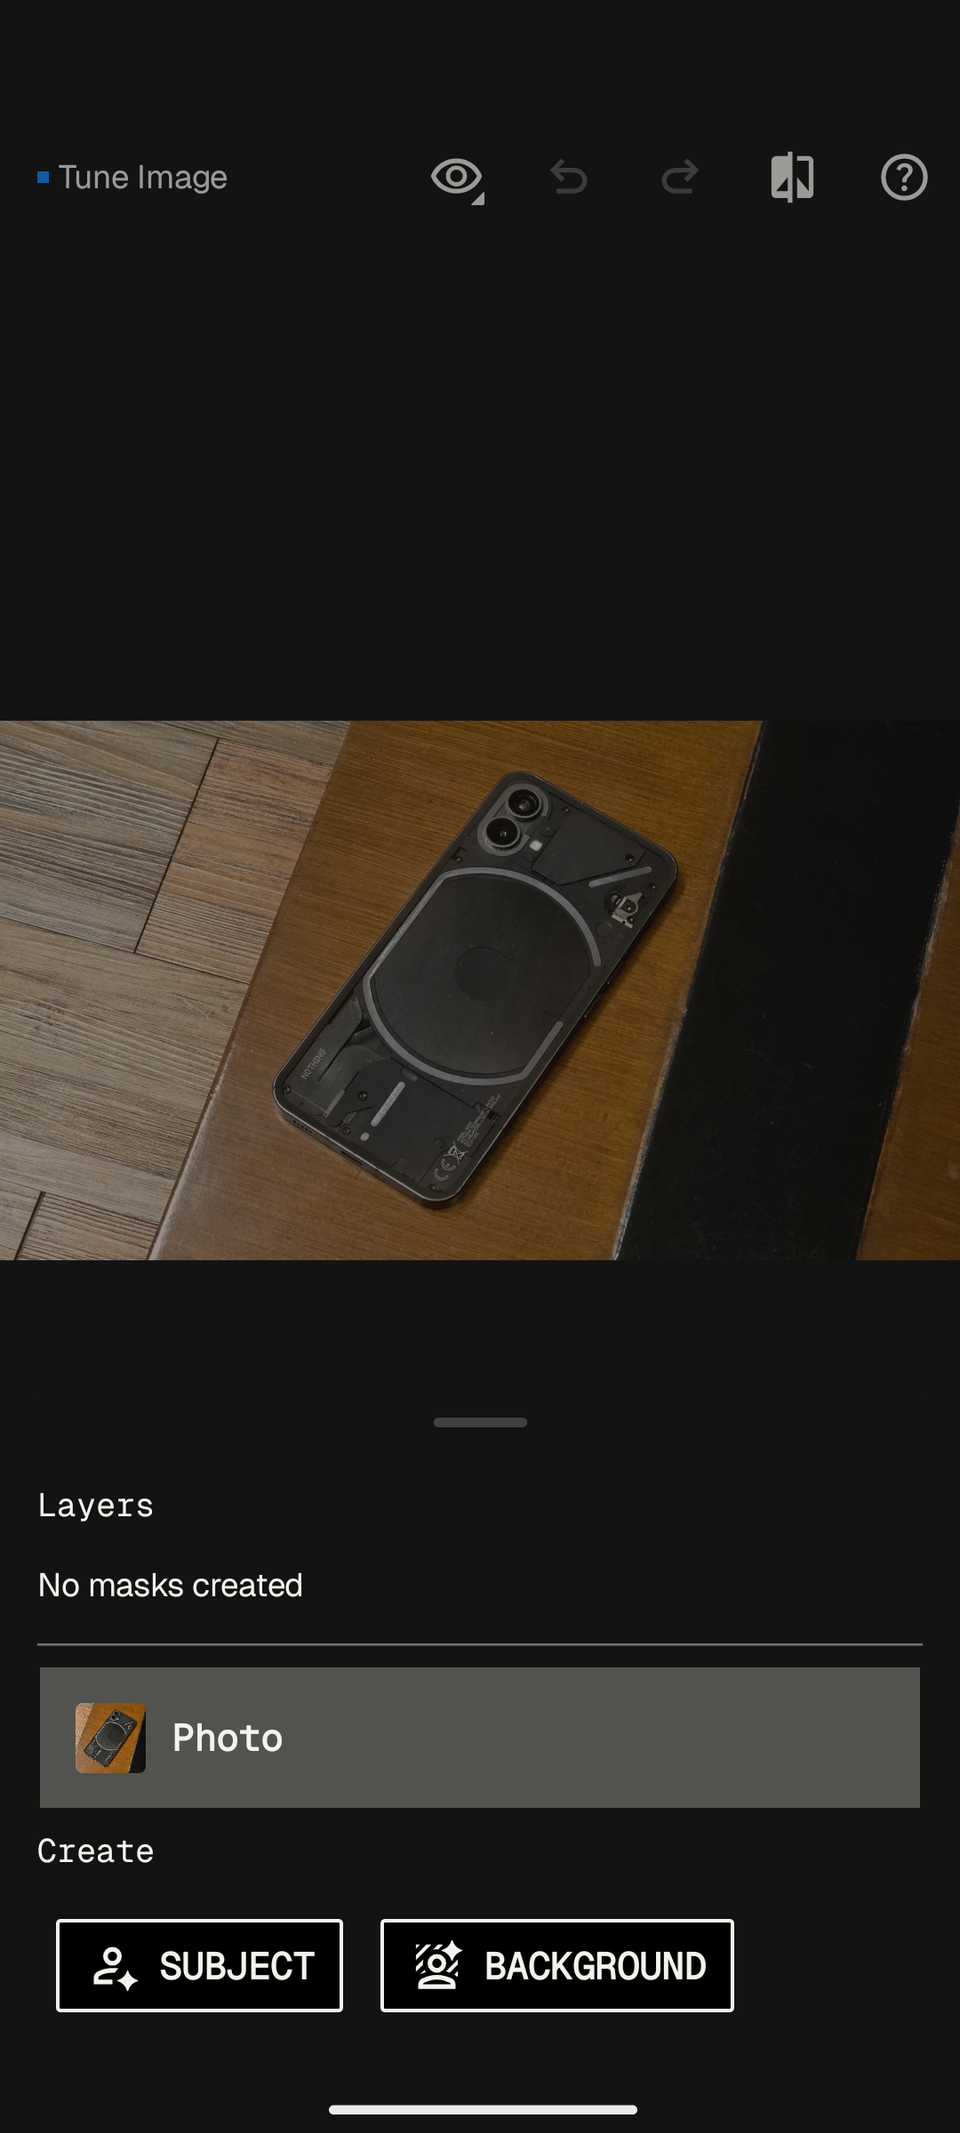
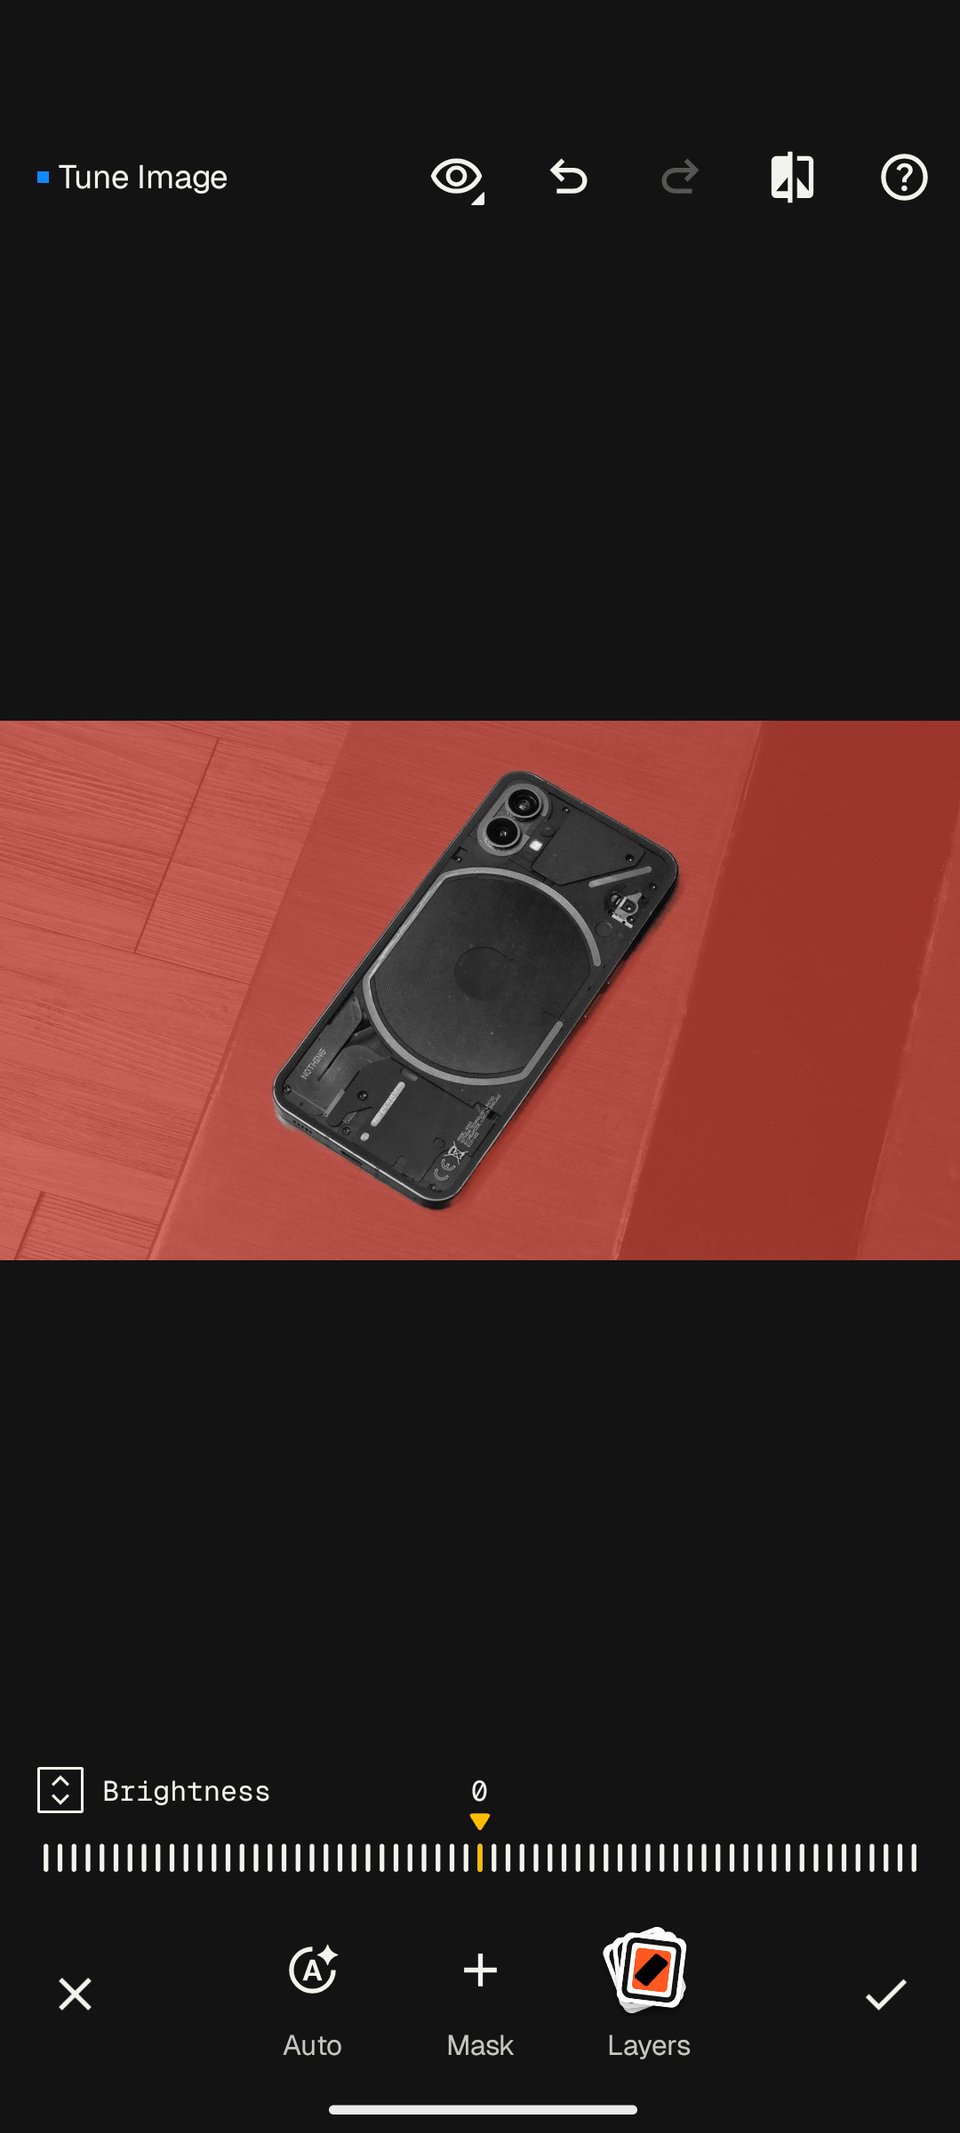
This is something I wish I had discovered sooner. Several tools in Snapseed, like Tune Image and White Balance, let me work only on the subject or background.
To enter this mode, tap at the bottom of the tool's menu, then select either or . Snapseed will intelligently create a mask on the area you choose.
You're allowed to apply edits to the Subject and Background of the same photo. If you want to tweak or remove the edits, you can do so individually without affecting the other layer.
From here, adjust the image as you please. The section highlighted in red is the only part that accepts the adjustments you make. Tap the arrow icon to the left to choose the sub-tool you need.
Google Photos can't manipulate individual layers. At best, it can automatically detect the person's face in a photo through Touch Up and apply manual alterations from there.
Adjust specific export settings
Decide how your output would behave
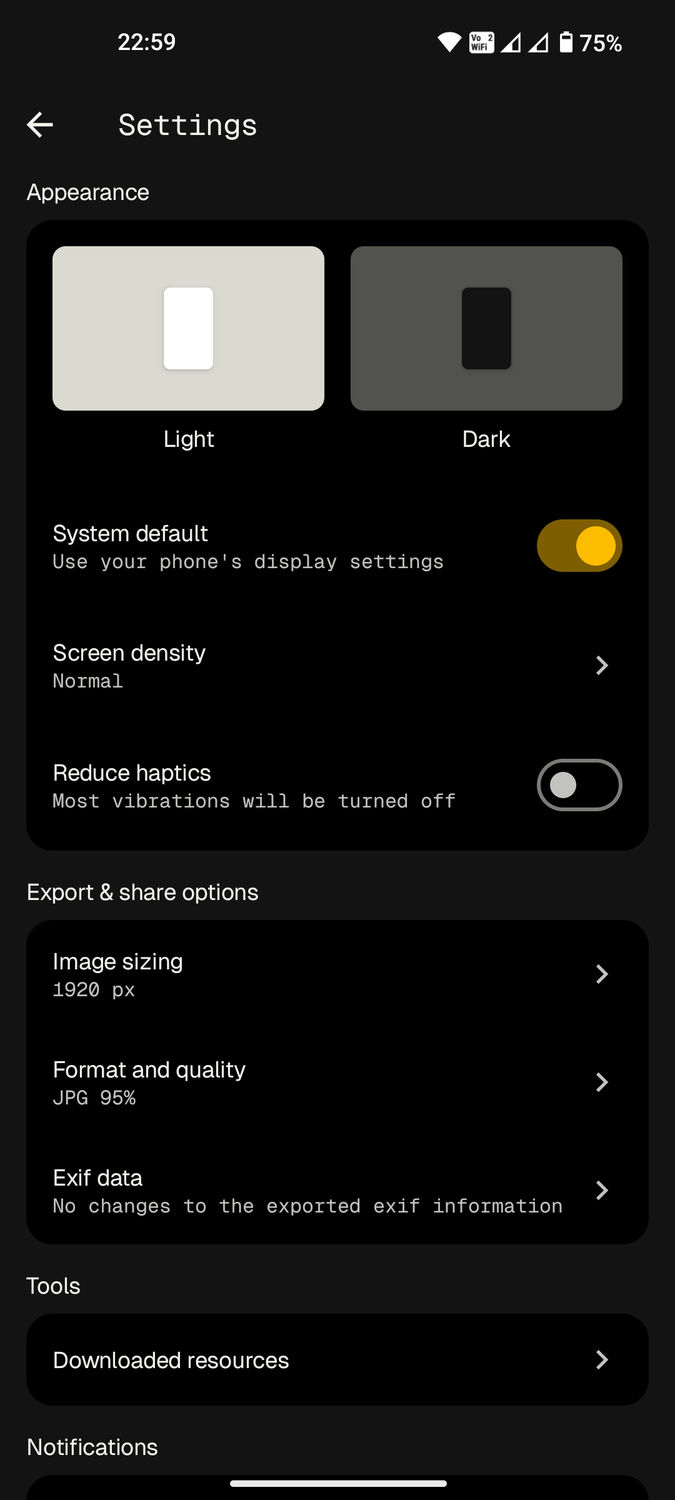
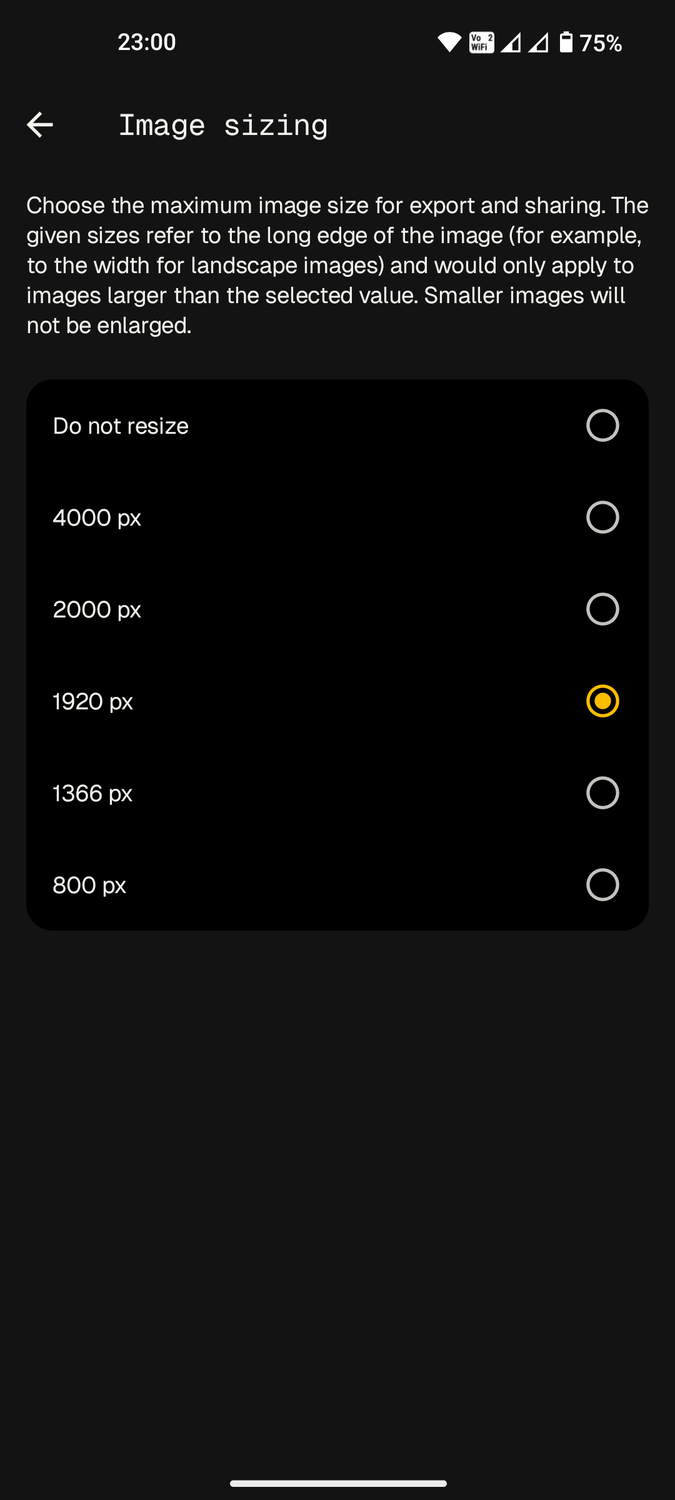
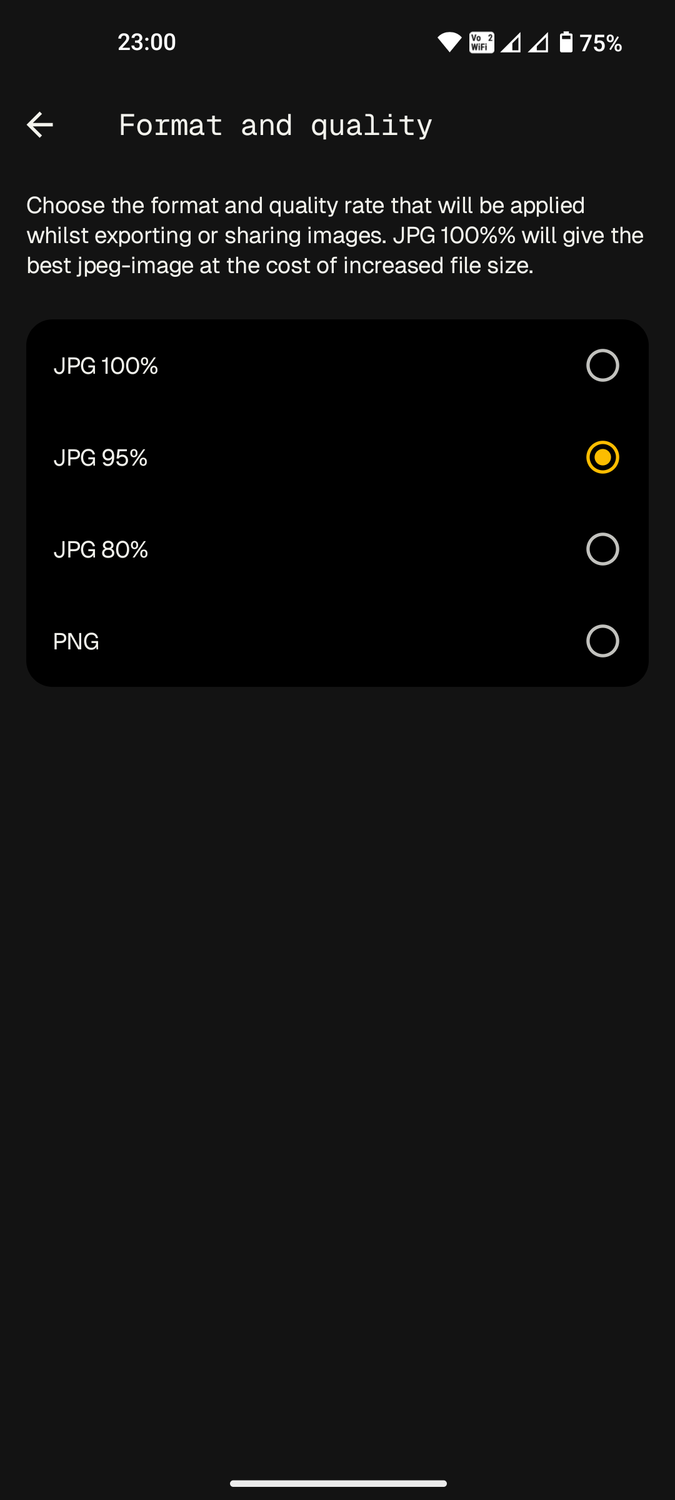
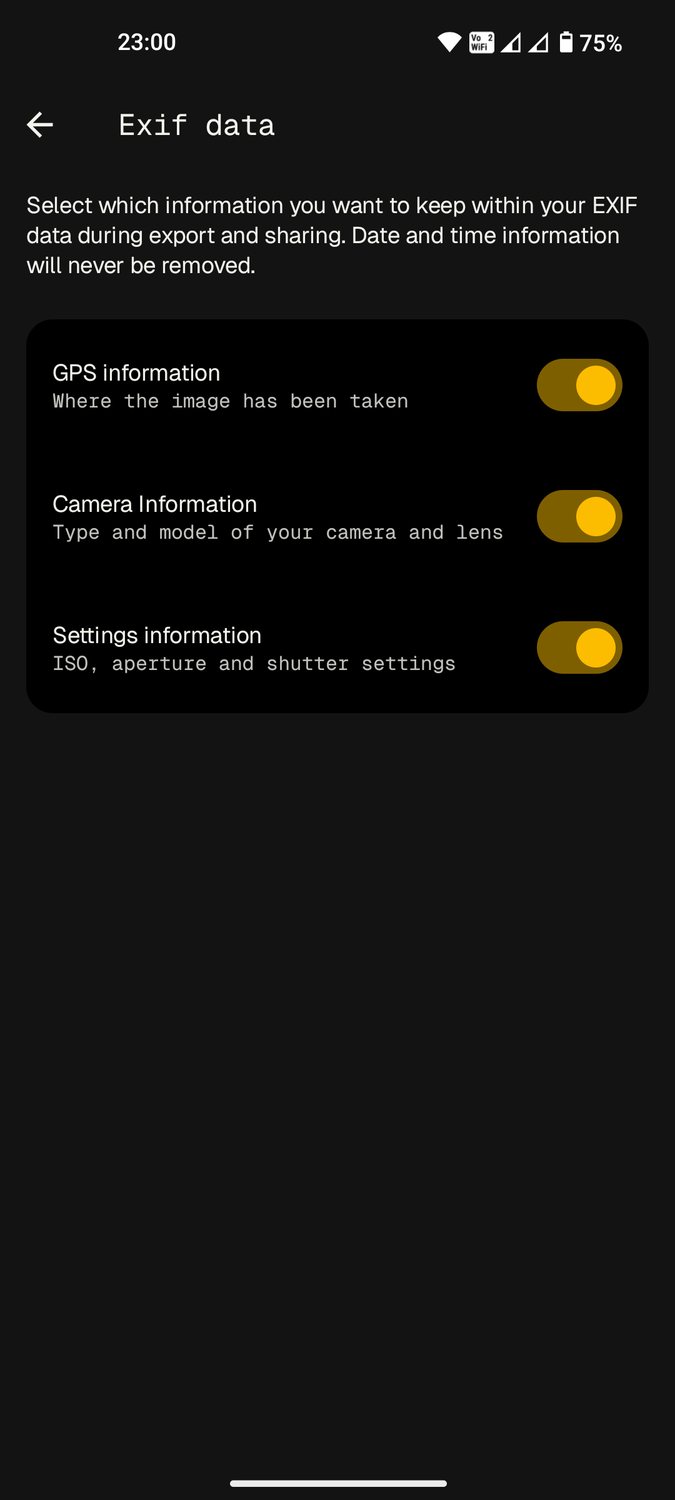
Snapseed's granular controls don't end inside the photo editing menu. Users can also adjust export settings. Google Photos totally lacks this.
Under , scroll down to find . Here you'll find alterations you can make to photos you export within the app.
Image sizing is the most important. You can retain the photo's original dimensions or set a maximum pixel width from 4,000 to 800 pixels.
Format and quality lets you set JPG quality to 100%, the default 95%, or a more space-saving 80%. You can also use the lossless PNG format.
Finally, you can remove entirely. You can include or exclude GPS, camera, and exposure information from the exported photo's data.
Share or apply a #SnapseedLook
Learn how others handle their edits
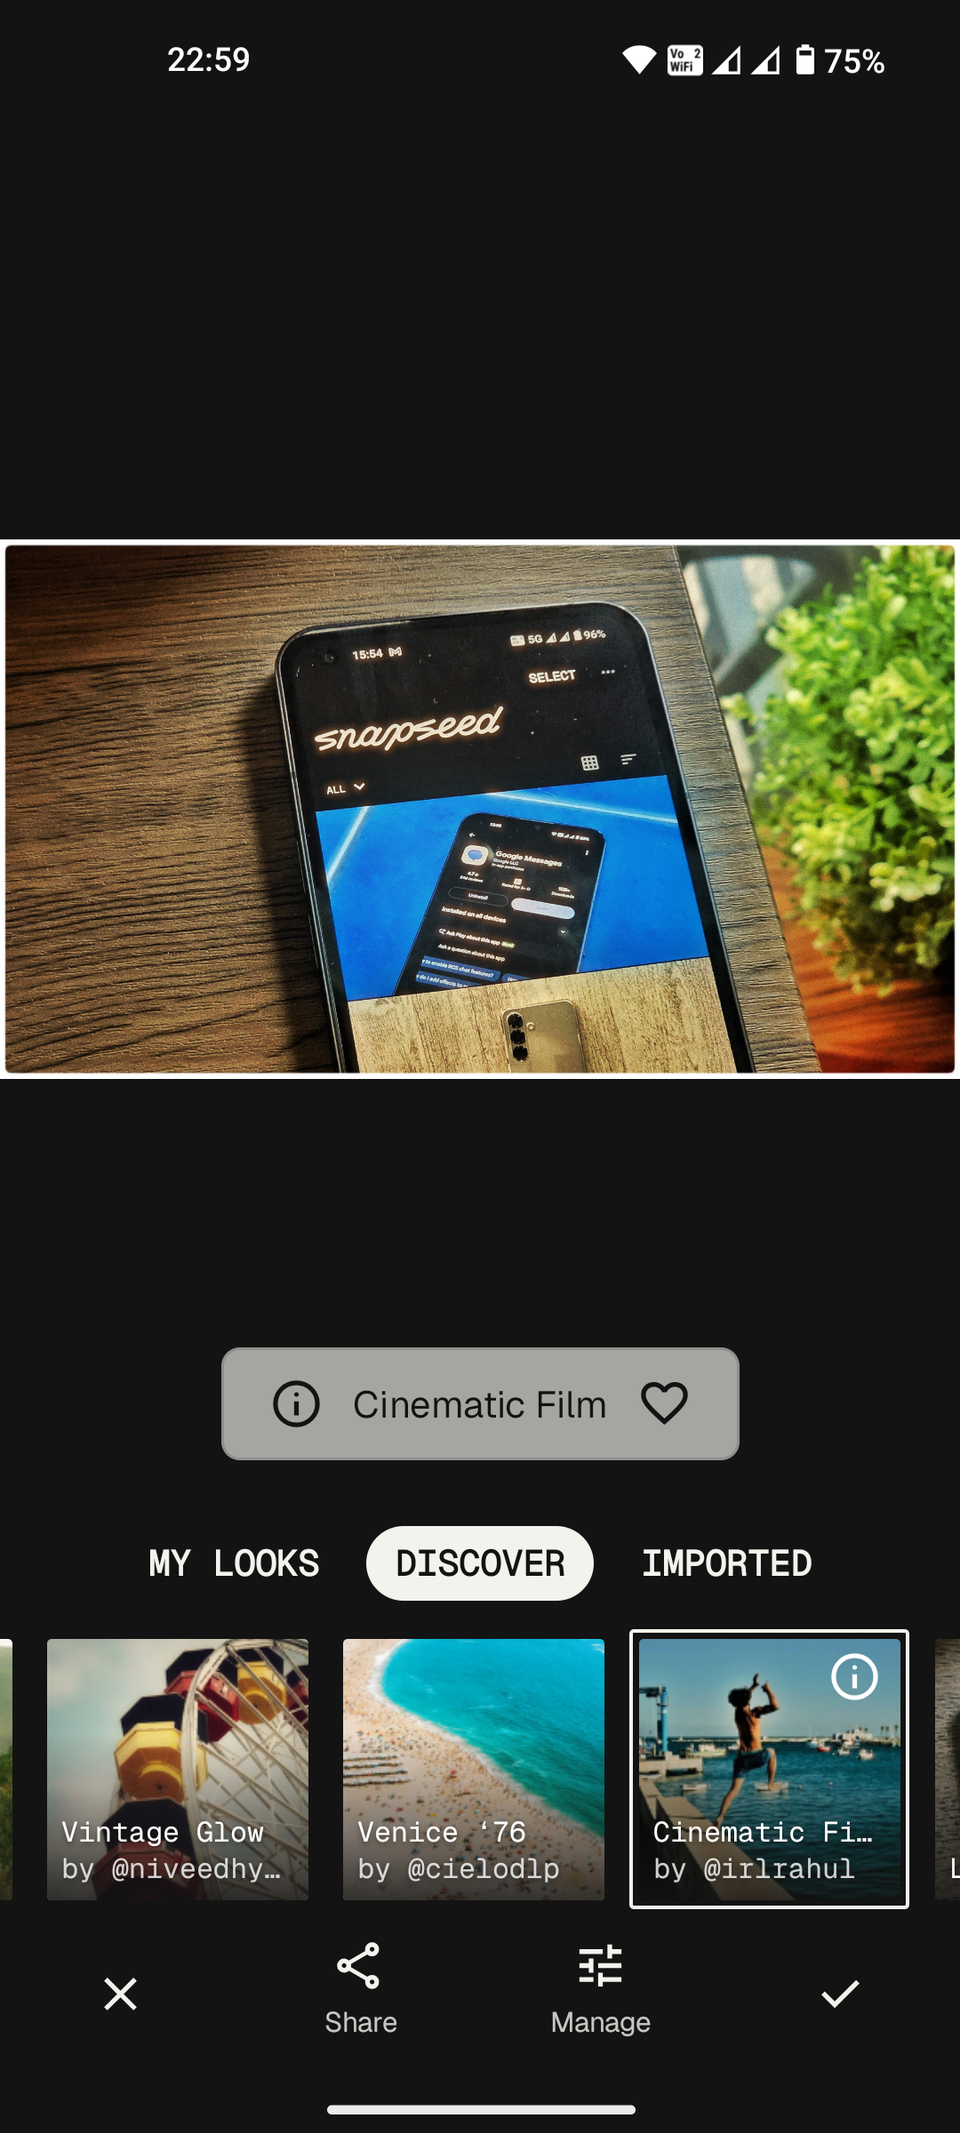
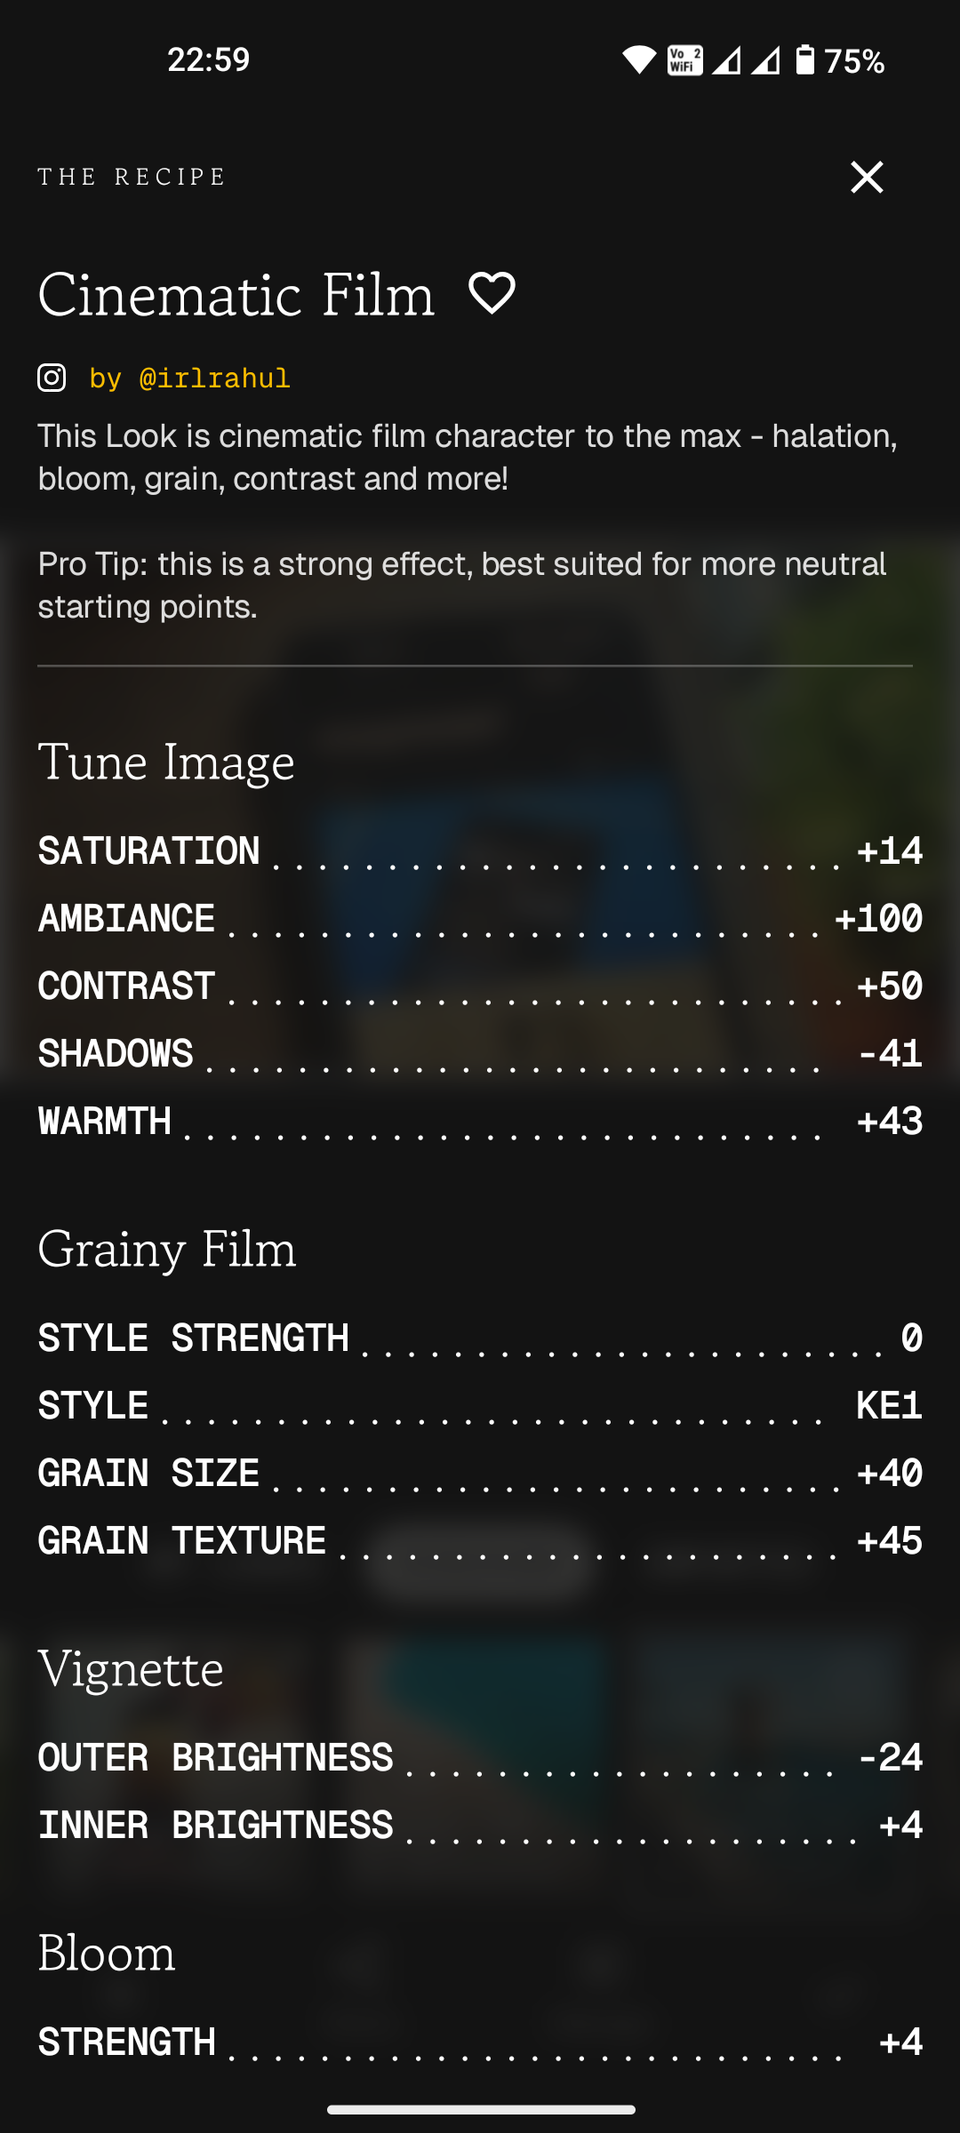
If you want to copy what the pros do, check out . It's a collection of custom that are shared with all Snapseed users.
It has its own tab to the left of Tools. Check out what you have made under , or find new Looks under . After choosing a community-made Look, tap it to see exactly how it was created.
Batch editing allows you to apply the same settings to multiple photos. Copy the Look you made, then select multiple photos in the Snapseed gallery to apply it.
I appreciate how Snapseed lists every edit, from the temperature and contrast to the filters and framing. Each Look comes with a personalized description and the creator's Instagram handle.
Google Photos prefers that users apply AI-generated edits every time they open a photo for editing. It doesn't offer community-based looks you can apply.
I reserve Google Photos for simpler tasks
Although Snapseed has superior manual tools, Google Photos has the edge in terms of simplicity. Its AI tools provide quick edits for everyday usage, and unlike Snapseed, Google Photos can edit videos.
As Google Photos , Snapseed continuously releases new tools that cater to users like myself. Its latest features have made the app so comprehensive that I wish it would become Google's default photo-editing software.